What does it mean when a pile "fails" a Seismic Test?
"Fail" means the pile's signal shows an anomalous reflection that needs further investigation; it is not a verdict that the pile is defective. The Seismic Integrity Test is a screening pile testing method. It does not give a black-and-white "pass/fail" result; instead it gives a signal integrity rating. For example, an anomalous reflection before the pile toe may indicate necking, a crack, a void or poor-quality concrete at that location.
The key point is that the same kind of signal can come from several causes, some of which are defects and some not:
- Splices in multi-segment driven piles (normal, not a defect)
- Soil layers where skin friction changes abruptly
- A poorly prepared pile head, causing high signal noise
- A genuine defect in the pile shaft
So seeing an anomalous signal once is the start of an investigation, not the conclusion.
How to read each signal pattern, such as the direction of reflections and the toe position, is explained in How to read Seismic Integrity Test results. This article picks up from the point where the report has already flagged a pile as anomalous.
The chart below summarizes all 4 steps from left to right. Steps 1–2 are quick and low-cost. If they show it is not a defect, follow the green bar, which skips the in-depth investigation. Step 3 is used only for piles that remain inconclusive.
Step 1: How do you retest to confirm the signal?
Retest to determine whether the signal really comes from the pile or from a poorly prepared pile head and the soil layers. This step takes little time and costs little, so it should always come first.
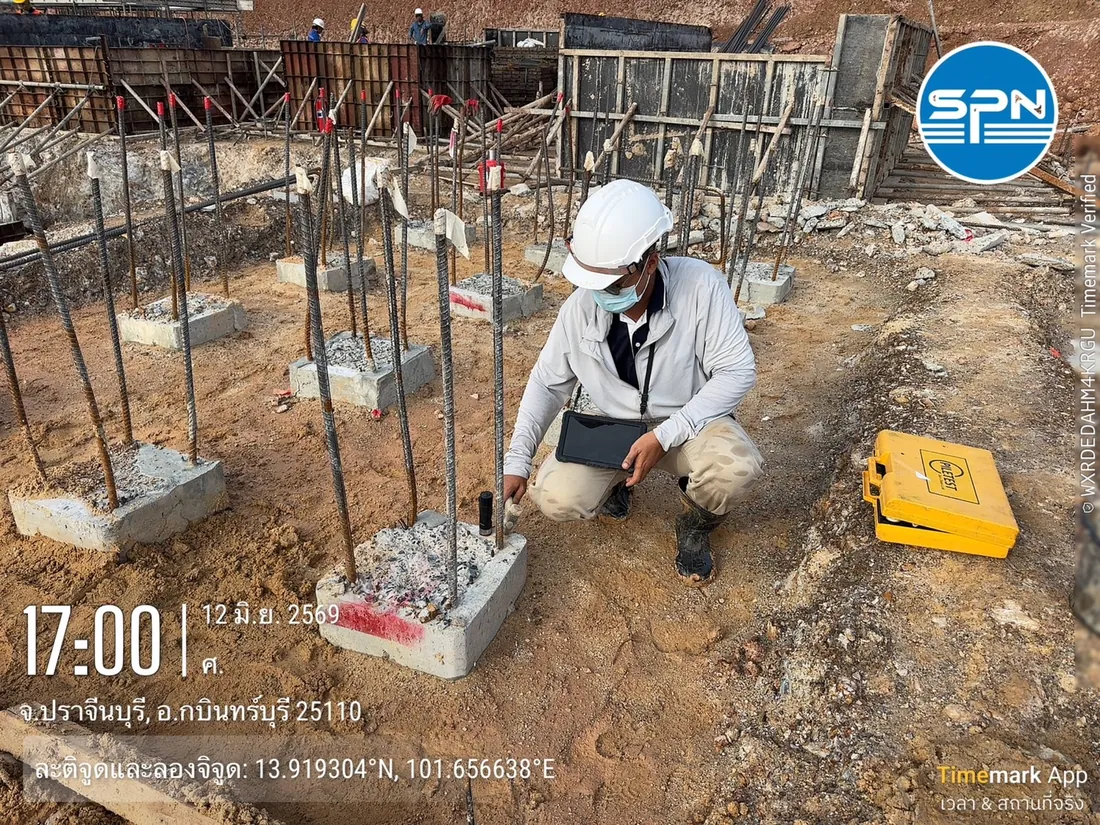
- Grind the pile head smooth and clean, then retest at several positions on the pile head
- Compare the traces from every position — if the anomalous signal repeats at the same depth every time, it comes from the pile itself
- Test additional neighboring piles in the same zone to see whether the problem is specific to one pile or a pattern caused by the soil layers — if every pile in the zone gives a similar signal at the same depth, it is most likely an effect of the soil layers, not a defect
Step 2: Which construction records should you compare?
Use the 5 items of site data in the table below and compare them with the depth of the anomalous signal. These data help separate signals from pile splices or soil layers from genuine defects.
← Scroll to see the full table →
| Data | What it checks |
|---|---|
| Record of actual concrete volume placed (bored piles) | Much more than theoretical → possible soil collapse / less than theoretical → risk of necking |
| Concreting Curve / concrete level vs depth | Identifies depth ranges with abnormal concrete, compared with the signal location |
| Driving record and splice locations (driven piles) | Separates normal splice signals from defects |
| Final Blow Count | Driven piles with abnormal blow counts may have cracked below ground |
| Soil boring results | Locations of alternating soft/stiff layers that create defect-like reflections |
If the anomalous signal location matches a pile splice or soil layer boundary exactly, the engineer can usually conclude it is not a defect without further checks. Having good soil investigation results therefore makes interpretation much more accurate.
Step 3: If still inconclusive, which method confirms it?
Choose the method according to the question you need answered, such as concrete quality, load capacity or pile length. This step is only for piles that have been retested and compared with records but whose signal still points to a likely genuine defect.
Concrete core sampling (Coring)
Drill into the pile shaft to the suspect level to see the actual concrete and test the compressive strength of the cores. It is the most direct way to confirm a concrete-quality defect, but it costs more and takes longer, so it is used only when truly necessary. The drilling procedure and how to interpret cores are explained in Concrete Core Test, and see the service at Non-destructive structural testing (NDE)

Dynamic Load Test (PDA)
If the question is "can this pile still carry its design load?", a PDA (Dynamic Load Test) gives a direct answer on load capacity. In some cases a pile shows a minor defect signal, but PDA confirms its capacity is sufficient, and the design engineer may accept it for use. PDA testing references DPT 1252-51 and ASTM D4945.
Excavation (for shallow defects)
If the signal points to a defect in the shallow section near the pile head, excavating to look directly may be faster and cheaper than other methods. If a crack is found, it can be repaired right away following the approach set by the engineer.
Cross Hole Sonic Logging (CSL) — for large bored piles
Cross Hole Sonic Logging (CSL) measures the integrity of the concrete across the whole cross-section of a bored pile by sending sound waves between steel tubes cast into the pile during construction. If the waves travel more slowly or weaken in certain sections, there may be a void, segregated concrete or soil inclusions. This method gives more detailed cross-section data than the Seismic Integrity Test but requires tubes installed in advance, so it suits large bored piles where CSL was specified from the start. The current reference guideline is ACI PRC-228.2; ASTM D6760-16, used previously, was withdrawn by ASTM in 2025.
Parallel Seismic Test — when no tubes were installed
If the pile has no CSL tubes, or is an existing pile with a structure on top, the Parallel Seismic Test (ASTM D8381/D8381M-21) is an option for assessing pile length and continuity. A borehole is drilled beside the pile and a sensor is lowered to record the signal generated at the pile head. The point where the signal changes abruptly indicates the pile toe or a break in the pile, which makes the method well suited to investigating existing piles.
The Seismic Integrity Test is a fast screening tool with a low cost per pile, while Coring and PDA are confirmation tools that give more targeted data at a higher cost, so they are used only for piles that remain inconclusive after retesting and comparing records.
A Seismic Integrity Test costs about THB 100–150 per pile, and PDA about THB 5,500 per pile. These prices exclude travel and equipment mobilization, which are charged extra according to the site distance. For Coring, CSL and Parallel Seismic, the cost depends on the number of piles and site conditions. Contact us for a free quote within 24 hrs.
Step 4: Who decides, and how many remedial options are there?
The design engineer has the authority to decide. Once all the data are in, one of the following 5 options is usually chosen, listed from mildest to most severe.
- Accept for use — once it is confirmed the signal is not a defect, or a minor defect does not affect strength or durability
- Accept with reduced load on that pile — adjust the load distribution in the pile cap so neighboring piles carry more
- Repair — e.g. a shallow defect that can be exposed by excavation: break out the bad concrete and recast
- Add piles — drive/bore additional piles beside the problem pile and redesign the pile cap to redistribute load; usually used when the defect is severe or too deep to be worth repairing
- Abandon that pile and install a replacement — the most severe case
The choice depends on the severity of the defect, the pile's position in the foundation layout, the load it must carry, and the cost and time of each option. The owner or contractor should not decide on remedial work without going through the design engineer, as this affects legal liability and the structural warranty.
Every option should be documented: Seismic traces from every test, the construction records used for comparison, confirmation results, the approach set by the engineer, and retest results after repair. Check completeness with the pile test report checklist
The model below places the options on the same pile group at 3 locations: A confirm first, B repair a shallow defect, and C add piles with an enlarged pile cap. The panel on the right summarizes who does what.
When a pile fails a Seismic Test, what should you not do?
There are 3 common mistakes:
- Do not ignore an anomalous signal and cast the pile cap over it — checking before casting the pile cap is usually far cheaper than fixing it later, because once the structure is up, foundation remediation is difficult and expensive
- Do not conclude a pile is defective from a single trace without retesting or looking at supporting data — this can lead to unnecessary demolition or added piles
- Do not let non-engineers interpret results and make decisions — a report that can be relied on must be interpreted and certified by a civil engineer licensed by the Council of Engineers (COE)
This article provides general engineering knowledge. Interpretation, choice of confirmation methods and decisions on remedial approaches must follow the judgment of the licensed design engineer and the specific requirements of each project. It is not design or remedial advice for any particular pile.