Why Prepare the Site Before Drilling Day?
Field soil boring takes about 1–2 days per borehole (see How Long Does a Soil Investigation Take?). If the site is not ready — for example the truck cannot get in, there is no water, or the borehole location cannot be found — the time lost is a full working day for the drilling crew, which may delay the job or add working days. Preparing the site in advance is therefore the simplest way an owner can help the project move faster at no extra cost.
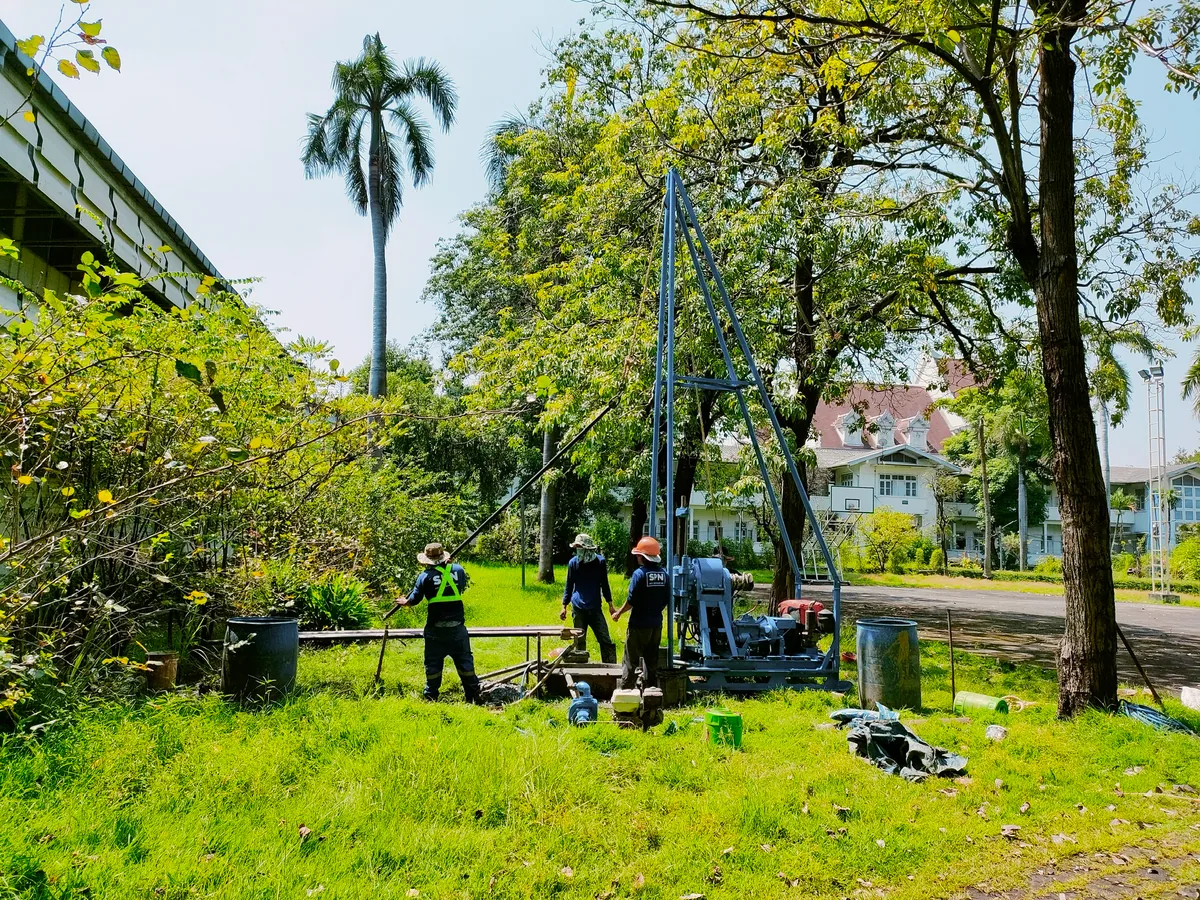
The figure below shows a "ready-to-drill" site: the truck can get close to the boring point, a level area has been cleared, water is ready, the borehole location and underground pipe routes are marked, and overhead power lines are clear of the rig tripod.
How Much Space Does a Soil Boring Rig Need?
The soil boring rigs commonly used in Thailand are tripod sets assembled on site. They generally require a level area of about 3×3 m per borehole and about 6 m of overhead clearance for the tripod, so watch out for power lines, canopies or tree branches above the borehole location. These figures are approximate — our team will confirm the space required for the actual rig type during the pre-quotation site survey.
What Is on the 8-Point Checklist Before Drilling Day?
The site preparation checklist for soil investigation, compiled from SPN's actual field work, is as follows:
- 1. Clear the access route — the pickup truck carrying the equipment should be able to get as close to the borehole location as possible. If it cannot, the crew can carry the rig in and assemble it, but please tell us the distance and path conditions in advance so we can plan time and manpower
- 2. Prepare the rig set-up area — a level area of about 3×3 m per borehole with no overhead obstructions. If it is fresh fill that is still very soft, let the crew know so they can bring base mats for the rig
- 3. Provide a water source — wash boring needs water circulated during drilling. A mains supply or natural water source near the boring point is most convenient; if there is none, tell us in advance so we can arrange to bring water to site
- 4. Mark the borehole locations — peg or mark the borehole locations according to the plan, or have someone on hand to point them out on drilling day (for how to decide the number and location of boreholes, see How Many Boreholes and How Deep?)
- 5. Mark underground utilities — water pipes, underground power cables, drains or existing septic tanks must be pointed out to the crew before drilling starts. This is the single most important safety item
- 6. Remove obstructions from the boring point — debris, soil heaps, small trees or tall weeds around the borehole location. Clearing them in advance lets work start much sooner
- 7. Have a site coordinator — at least at the start of work, someone should point out the borehole locations, open the access and answer site questions. They do not need to be there all day
- 8. Inform us of site rules — housing estates, condominiums and factories often have procedures for contractor entry permits, set working hours or exchange passes. Let the crew know in advance so the paperwork can be prepared
Which Sites Need Special Notice to the Crew?
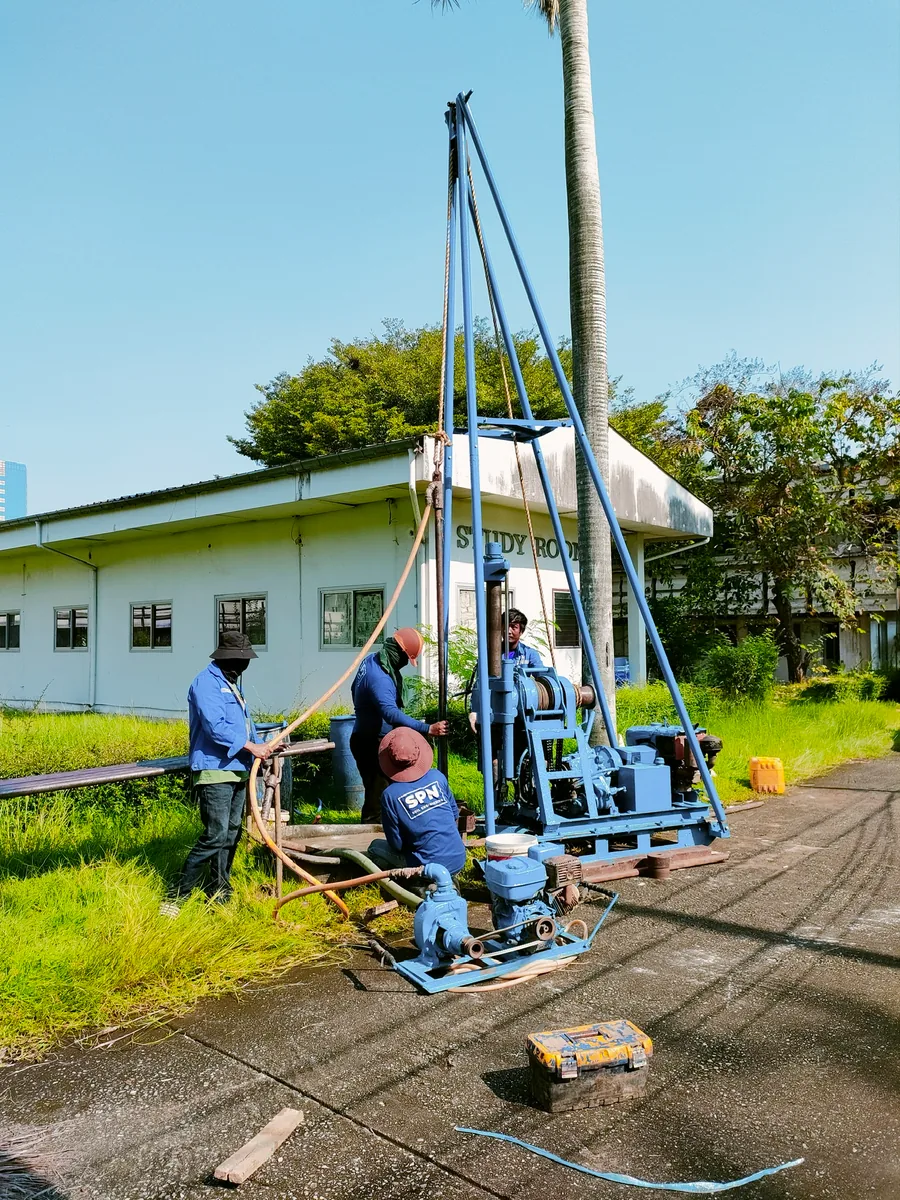
Some site types require different equipment or working methods. If any of the following applies, please mention it when requesting a quote.
- Waterlogged land or very soft ground — a temporary access road or steel plates under the rig may be needed
- Drilling inside a building or in confined spaces — a compact rig is needed and the ceiling height must be checked
- Drilling over water, in rivers or at sea — a raft or pontoon is needed to support the rig; see a real example in Offshore Soil Boring Case Study
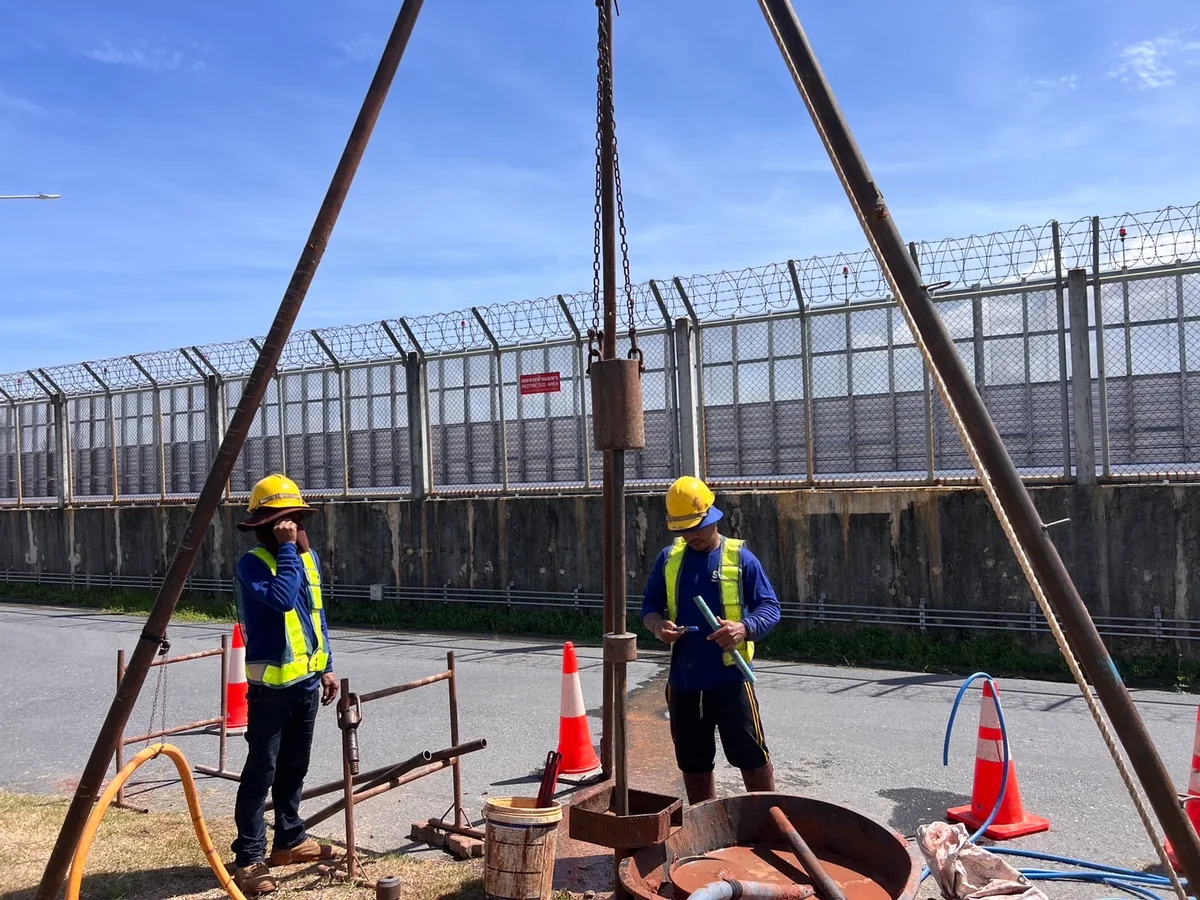
- High-security / safety-controlled areas — petrochemical plants, oil depots or airports usually require safety induction and a Work Permit several days in advance
What Happens on Drilling Day?
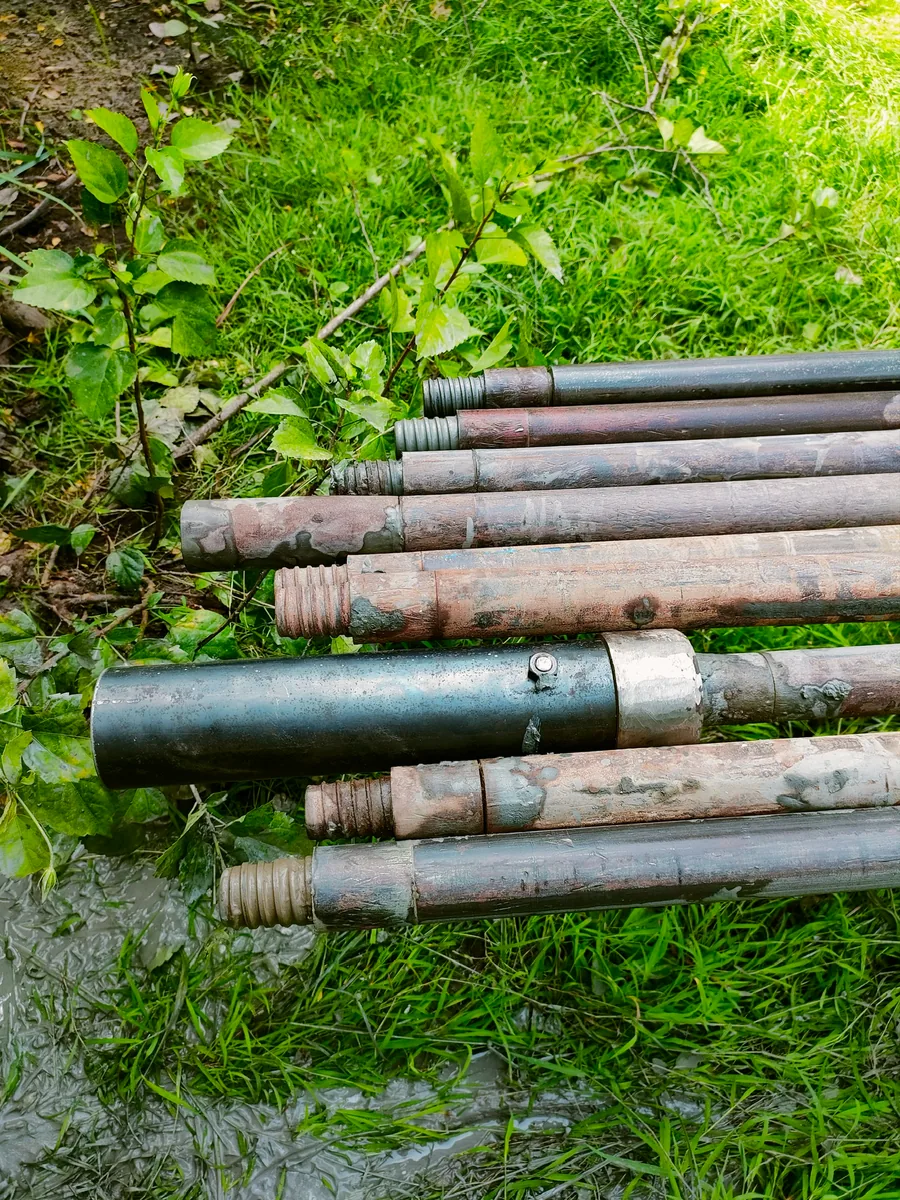
Once the site is ready, the crew sets up the rig over the borehole location, drills and performs Standard Penetration Tests (SPT) to ASTM D1586 at intervals down to the specified depth, and collects soil samples for the laboratory (read about sample types in SS vs ST Soil Sampling: What Is the Difference? and about drilling methods in How Many Soil Boring Methods Are There?). When drilling is finished, the crew backfills the borehole neatly before leaving the site.
SPN's soil investigation fees for residential houses start at approximately THB 20,000–40,000 for 2–3 boreholes, including basic laboratory testing and an engineer-certified report (see House Soil Boring Prices 2026). This price excludes travel and equipment mobilization, which are charged extra according to the site distance.
Summary
Preparing a site for soil boring is not complicated — clear the access, prepare a 3×3 m level area, provide water, and mark the borehole locations and underground utilities. That is all the drilling crew needs to start right away on the scheduled day. If you are unsure whether your site is ready, send site photos and the location to the SPN engineering team for an assessment first. Free quotation within 24 hours.