Who Decides How Many Piles to Test?
The design engineer decides, by stating it in the project specification and construction drawings. Before looking at any numbers, understand the order of precedence of the documents that actually govern:
- Project specification and construction drawings — the design engineer sets the number of tests and test methods; these are contractually binding
- Owner agency requirements — government agencies, state enterprises and industrial estates often have their own criteria
- Reference standards — e.g. DPT 1251 (Static Load Test), DPT 1252-51 (Dynamic Load Test), DPT 1551-51 (Seismic/Integrity Test) and ASTM standards. These standards mainly define the "test method"; the number of piles is left to the designer's judgment
So the most accurate answer to "how many piles must be tested?" is: check your project specification. The figures in this article reflect common practice and are for preliminary budgeting only.
How Many Piles per Test Method? Common Practice
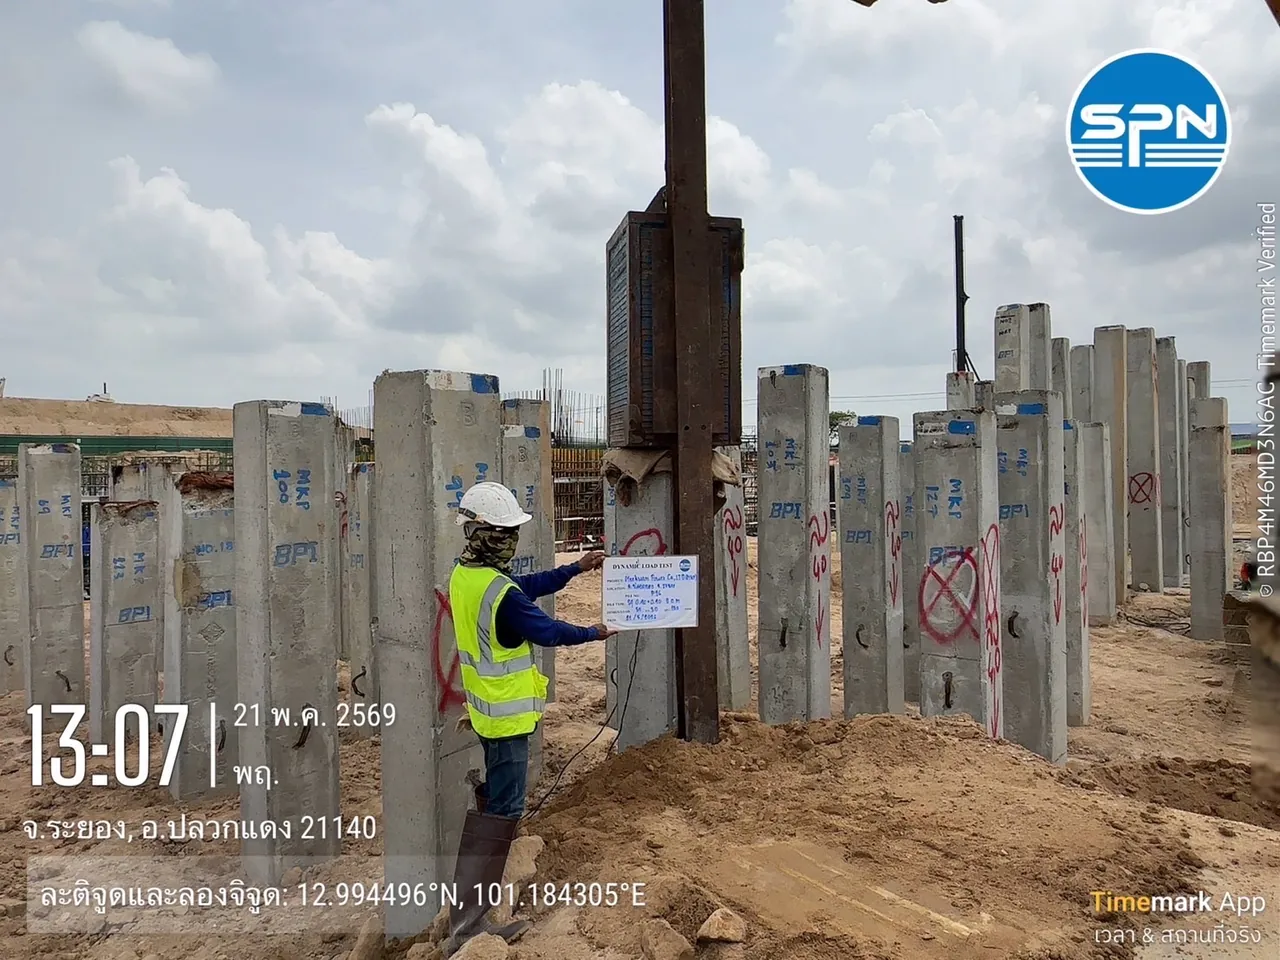
Short answer: Seismic Integrity Testing is usually done on all or almost all piles; PDA on a sample of about 1–2% of all piles (at least 1 pile, depending on each project's specification); and Static Load Testing on fewer piles than PDA, but at least 1 pile per pile type/size.
The table below shows common practice in project specifications, for preliminary budgeting — not a mandatory requirement. The actual number follows the specification and the design engineer. (New to these methods? Read How many pile testing methods are there? and What is a Seismic Integrity Test? first.)
← Scroll to see the full table →
| Test type | Common quantity in project specifications* | Reason |
|---|---|---|
| Seismic Integrity Test (DPT 1551-51 / ASTM D5882-16, withdrawn in 2025) | All piles (100%) or almost all, especially bored piles | Low cost per pile, fast; screens for defects across the whole project |
| Dynamic Load Test (PDA) (DPT 1252-51 / ASTM D4945) | Sampled as a proportion of all piles (often ~1–2%, and at least 1 pile) | Confirms bearing capacity at lower cost than a static test |
| Static Load Test (DPT 1251 / ASTM D1143) | Fewer piles than PDA (often at least 1 pile per pile type/size) | High cost; used as the primary reference test |
* Figures reflect common practice, not mandatory requirements — the actual number follows the project specification and the design engineer.
The figure below turns the table into an example foundation plan: blue pile heads are Seismic tests on every pile, orange circles are PDA samples spread across different corners of the plan, and navy boxes are static tests on representative piles of each size. On the right is an example calculation with assumed values: 600 piles × 1–2% gives about 6–12 PDA tests.
What Factors Do Engineers Use to Set the Number of Test Piles?
There are four main factors: pile type, building size and importance, variability of the soil strata, and the results of the first tests. The higher the risk, the more piles are usually tested.
1. Pile type
- Bored piles — cast in place, so the concrete below ground cannot be seen; the integrity risk is higher, so Seismic testing of every pile is usually specified
- Driven piles — factory-made under quality control, but at risk of cracking during driving; Seismic testing is usually done on a sample, together with blow count monitoring during driving
2. Building size and importance
High-rise buildings, public buildings or heavily loaded structures usually specify a higher testing proportion than ordinary houses, and often require at least 1 Static Load Test.
3. Variability of the soil strata
If the soil investigation shows that the strata across the site vary greatly, the engineer may increase the number of test piles and spread the test locations to cover every zone. To understand where soil data comes from, see Why soil investigation is needed before construction.
4. Results of the first tests
If abnormal results are found — for example a Seismic test shows a necking signal, or PDA gives a capacity lower than the design value — the engineer usually orders additional test piles around the problem pile to define the extent of the problem.
Put simply, the Seismic Integrity Test answers "is the pile shaft sound?", while PDA and Static Load Tests answer "can it really carry the design load?". Most projects therefore use both groups together rather than choosing one or the other.
Which Piles Should Be Tested? Principles for Distributing Test Locations
The piles to choose are those that represent the whole project, and those at the highest risk. What matters more than "how many" is "choosing the right piles". The principles engineers use to select test piles:
- Spread them across the whole building footprint and every soil zone — do not cluster them in one corner
- Choose heavily loaded piles, or piles under the main columns of the structure
- Include piles with abnormal construction records, e.g. hard driving, concrete slump/drop, or a pile tip that did not reach the design bearing layer
- Cover every pile type/size used in the project
The model below combines all four principles in one plan: the selected piles are spread across Zone A and Zone B, which have different soil strata; they include piles under main columns that carry heavy loads, a red-flagged pile whose tip did not reach the design layer, and representative piles of both sizes.
How Do You Plan the Number of Tests Cost-Effectively?
The most cost-effective approach is to test in sequence, not to run every method on every pile. An approach that meets the specification without costs spiraling:
- Start with Seismic Integrity Testing to screen integrity across the whole project
- Select high-risk or heavily loaded piles for PDA
- Keep Static Load Tests as the reference test, only as many as the specification requires
Indicative prices per pile for preliminary budgeting: Seismic Integrity Test about THB 100–150/pile, PDA about THB 5,500/pile, and Static Load Test about THB 50,000–150,000+/pile. These prices exclude travel and equipment mobilization, which are charged extra according to the distance to the site. See prices for each method in Pile testing prices 2026, and schedule tests to suit concrete age in How many days of concrete age before a pile can be tested?
Reducing the number of test piles below what the specification requires may cause the work to fail acceptance, or let problem piles go unnoticed. Repairing a foundation later costs many times more than testing. If you want to make the test plan more economical, always have the design engineer review it.
This article is provided as engineering knowledge. The number of piles to test, the sampling proportion and the selection of test piles should follow the project specification and the judgment of a licensed engineer. Proportion ranges (e.g. ~1–2% for PDA) reflect common practice, not mandatory requirements.
SPN Soil Engineering provides every pile testing method — Seismic Integrity Test, PDA and Static Load Test — nationwide in all 77 provinces. See details on the pile testing services page.